Pyrshak System: Unterschied zwischen den Versionen
Aus ---=== OLD Holopedia OLD ===---
Zur Navigation springenZur Suche springen| Zeile 1: | Zeile 1: | ||
| − | [[Kategorie:Systeme]][[Kategorie: | + | [[Kategorie:Systeme]] |
| − | + | [[Kategorie:Cona Sektor]] | |
| − | [[ | + | [[Kategorie:Inner Rim Cluster]] |
| − | + | {{Systemvorlage | |
| − | + | |Name=Pyrshak System | |
| − | + | |Bild= | |
| − | + | <imagemap> | |
| − | [[ | + | Image:Pyrshaksys.jpg|1000px|alt=Taktische Karte|center |
| − | + | poly 130 81 289 81 287 238 128 238 [[Britght Jewel Sektor|Britght Jewel Sektor]] | |
| − | [[ | + | poly 468 56 661 205 640 232 450 92 [[Aleen System|Aleen System]] |
| − | + | circle 246 305 22 [[Repta]] | |
| − | [[ | + | circle 246 305 22 [[Ord Mantell]] |
| − | < | + | circle 246 305 22 [[Cairns]] |
| − | + | circle 246 305 22 [[Su Exposs]] | |
| − | === | + | circle 246 305 22 [[Quatin]] |
| − | . | + | circle 246 305 22 [[Hota]] |
| + | </imagemap> | ||
| + | |Sonnen=1 | ||
| + | |Planeten=3 | ||
| + | |Hauptwelt=Navlaas | ||
| + | |Sektor=Cona Sektor | ||
| + | |Cluster=Inner Rim Cluster | ||
| + | |Informationen=./. | ||
| + | |Planet1icon=Manaankl.png | ||
| + | |Planet1name=Manaan | ||
| + | |Planet2icon=Navlaaskl.png | ||
| + | |Planet2name=Navlaas | ||
| + | |Planet3icon=Pyrkl.png | ||
| + | |Planet3name=Pyr | ||
| + | }} | ||
Aktuelle Version vom 28. Oktober 2019, 20:06 Uhr
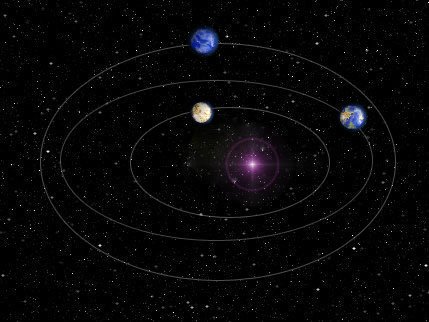
| Pyrshak System ( Die Planeten auf der Grafik können angeklickt werden ) | ||||||||||||||||||||||||
|---|---|---|---|---|---|---|---|---|---|---|---|---|---|---|---|---|---|---|---|---|---|---|---|---|
  | ||||||||||||||||||||||||
|
| |||||||||||||||||||||||